Week 42 – A Strange Little Cookie (Flourless Fudge Cookies)
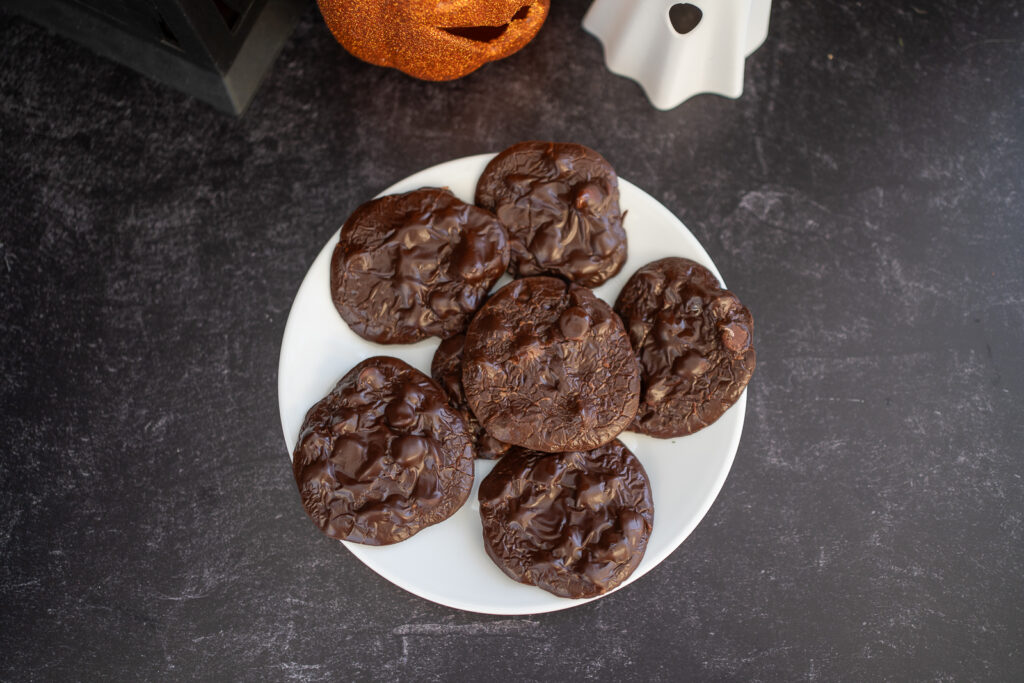
Buckle up kids, it may get a little strange around here.
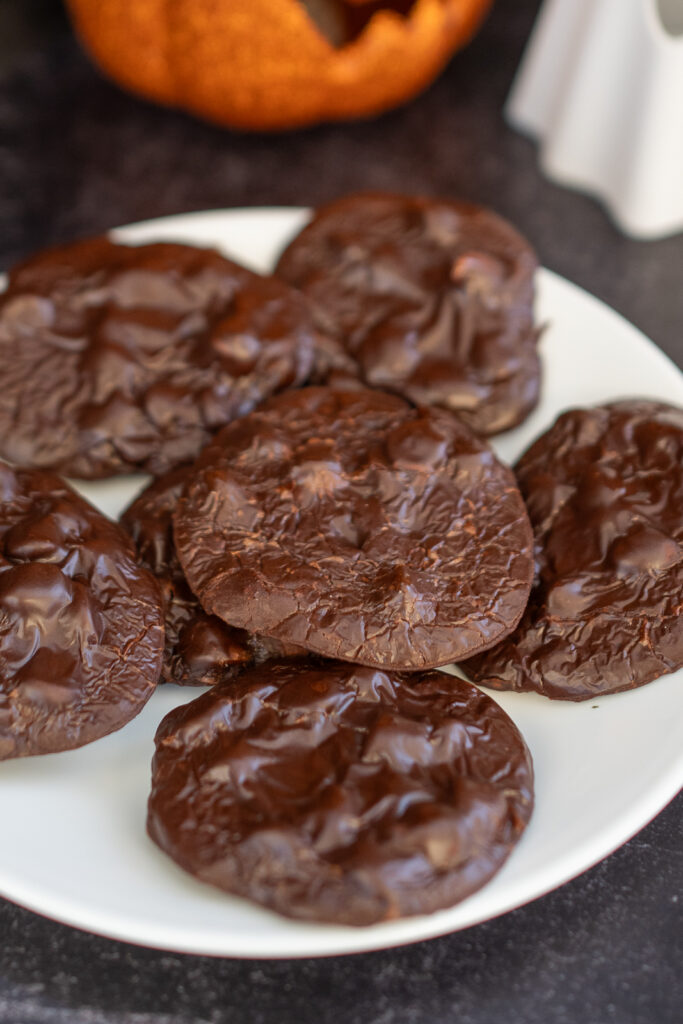
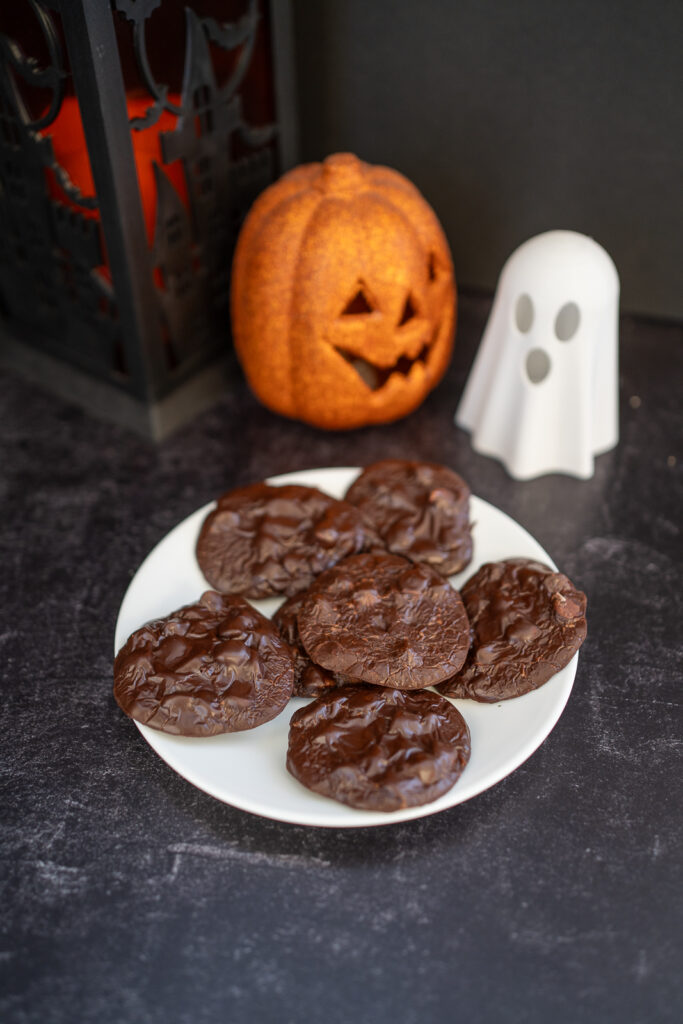
These are supposed to be cookies. COOKIES. I’ve never had cookies that instantly melt in your mouth. That was unexpected and if you watch the VIDEO, you can see my reaction during the taste test.
I was SHOOKETH.
These cookies are simply complicated…. What a contradictory sentence. Let me explain…
There aren’t many ingredients and the bake time is practically nothing, that makes it simple. HOWEVER, there are a lot of things to keep in mind while making this, that makes it complicated.
Lets just go down the list of things you need to keep in mind when making these cookies.
- USE YOUR FOOD SCALE TO MEASURE! I’m serious. The sugar, cocoa, and egg whites should be measured. Most of the time you know I’m all about dumping and praying, but that could spell disaster for this recipe. BE PRECISE!
- USE THE EXACT AMOUNT OF EGG WHITE! I ended up needing 3 and 1/4 eggs. It was messy and tricky and we had scrambled eggs for breakfast, but be precise here as well.
- Supposedly the brand of cocoa makes a difference. The good folks at KA said they preferred the KA brand. I used mostly Bakers Corner (Aldi brand) and finished up with Hersheys when I ran out. My cookies were not bitter, although there was a difference between the two I used. The Bakers Corner had a sweeter smell, was lighter in color, and seemed smoother than the Hershey’s brand. The KA bakers say that the Hershey’s brand will make your batter thicker.
- WHISK WET AND DRY INGREDIENTS SEPARATELY! And carefully. I whisked my eggs and vanilla in a large mixing bowl, and my dry ingredients in a smaller bowl. I’ll explain why next.
- Add your dry ingredients TO you wet ingredients. So make sure your wet ingredients are in a big enough bowl. Every bit of liquid is required for this recipe to work.
- JUST KEEP MIXING You are going to think that you’ve made a mistake. You will be mixing and nothing will be happening. You will go through a range of emotions here, it will be ok, I promise. Just keep mixing like your life depends on it. About the time you are ready to give up because you are SURE that you’ve made a massive error in measuring is about the time the powdered sugar will collapse and you will see it turn to batter before your eyes. Seriously, if you blink you may miss it. It was magical.
- GREASE YOUR BAKING SURFACE If you have been with me, watching the videos for a while now, you will know that I always roll my eyes when they say to grease the parchment paper. I absolutely despise redundancy. For this recipe, grease the darn parchment paper. This batter is a sticky, gooey mess. Don’t tempt fate.
- WAIT 30 MINUTES BEFORE BAKING THE COOKIES! Get them on the sheets, then let them sit for 30 minutes before putting them into the oven.
- On the reverse side, COOL THEM COMPLETELY ON THE PANS! If you try to get these things off your cookies sheets before they are cooled, they are going to fall apart. Don’t even think about it.
There. Now you see why I am slapping a “complicated” label on this recipe in addition to the simple label. But really, if you keep those nine tips in mind, you will probably have some success with these. Good luck!
Ingredients
2 1/4 cups (255g) confectioners’ sugar
1/4 teaspoon table salt
1 teaspoon espresso powder
1 cup (85g) cocoa powder
3 (106g) large egg whites
2 teaspoons vanilla
2 cups (227g to 340g) chocolate chips, chopped nuts, and/or chopped dried fruit, optional
Directions
- Lightly grease two baking sheets. Or line with parchment, and grease the parchment. Yes, grease the parchment; these cookies are sticky, and need to be baked on a greased surface.
- Whisk together the egg whites and vanilla. In a separate bowl, whisk together the dry ingredients, except for the chips/nuts/fruit.
- Stir the wet and dry ingredients together. Scrape the bottom and sides of the bowl, and stir again until smooth. The batter should be and the consistency of a thick syrup. If it’s not, add more egg white until it drips from a spatula in a thick ribbon.
- Add the chips and/or nuts, if you’re using them.
- Drop the syrupy batter onto the prepared baking sheets in 3″ circles (for large cookies), or 1 3/4″ to 2″ circles (for smaller cookies); a tablespoon cookie scoop or teaspoon cookie scoop, respectively, work well here. Let the cookies rest on the baking sheets for 30 minutes, while you preheat your oven to 350°F.
- Bake the cookies for 7 minutes (for smaller cookies), 8 to 9 minutes for the larger cookies; they should spread slightly, become somewhat shiny, and develop faintly crackly tops. Note: large cookies with added chips/nuts will need to bake for 10 minutes.
- Remove the cookies from the oven, and allow them to cool right on the pan. When they’re nearly cool, carefully loosen them from the pan with a spatula.
- Storage information: Serve warm; or cool completely, and store airtight at room temperature for several days. For longer storage, wrap well and freeze.
